
Building your own retro console is a genuinely rewarding weekend project and it is not the money-saving exercise most guides imply. A realistic parts list lands between $95 and $180, which is more than several ready-made plug-and-play boxes cost, and a first build absorbs six to twelve hours across research, assembly, configuration and organising your own game files. What you get in return is a machine you can upgrade, a front-end you control, cooling that suits your cabinet and a device that will not become inert when an undocumented memory card fails. This guide covers the parts decisions in the order they actually matter, the failure points that catch first-time builders, and — set out plainly rather than buried — the circumstances where buying a finished unit is simply the better call.
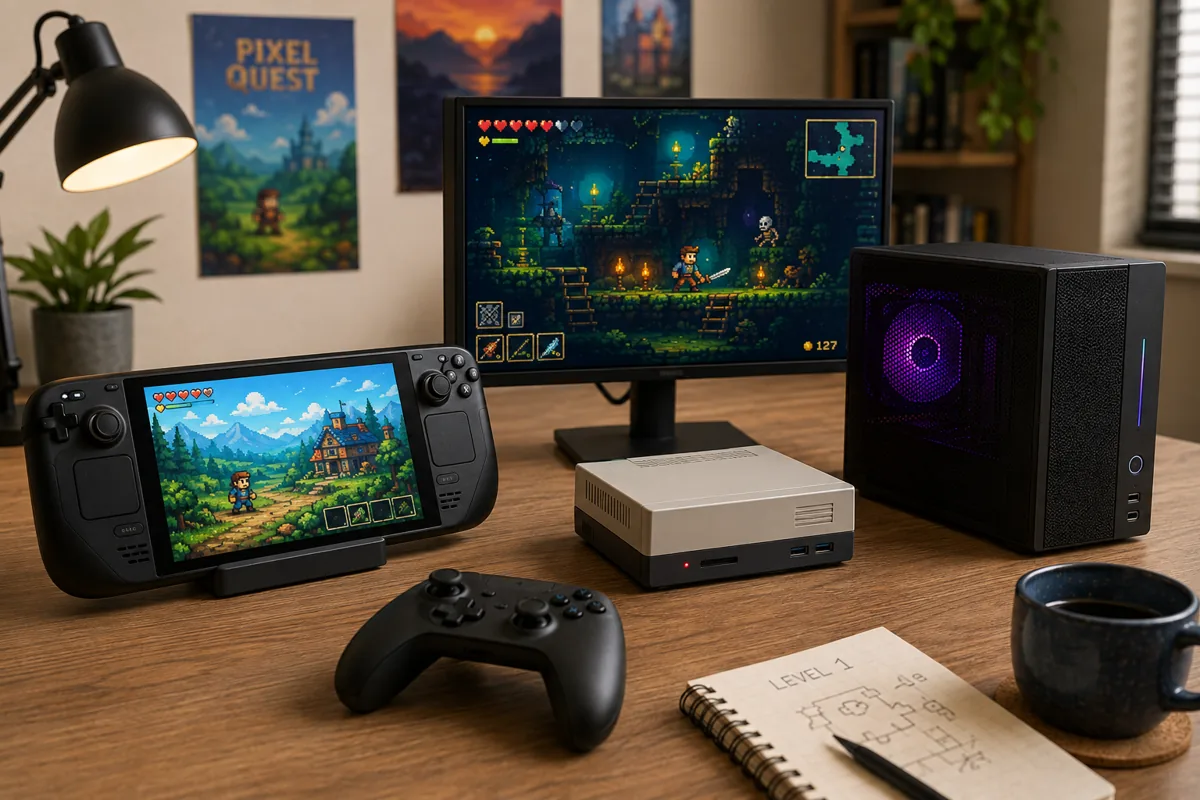
Top 3 picks at a glance

What a DIY retro console is, and what it is not
The project at its simplest is a small single-board computer running a purpose-built front-end, wired to a television over HDMI, with controllers attached and your own game files stored on a memory card. There is no soldering in the standard version of this build and no programming. The skills required are the ability to write a disk image to a card from a laptop, follow a menu-driven setup, and screw four standoffs into a case without stripping them.
As an Amazon Associate we earn from qualifying purchases at no extra cost to you. Product prices and availability are accurate as of the date shown and are subject to change.


What it is not is a way to obtain games. Every part of this guide assumes you supply your own files, created from cartridges and discs you personally own, and that you keep the original media. That is the only sourcing approach described here, and it is also the practical one — a personal set contains the specific versions you want, correctly named, rather than thousands of duplicate regional variants that make a front-end unusable.
It is also not a route to modern gaming. A single-board computer running a retro front-end is aimed squarely at cartridge and early disc-era libraries. If the goal includes recent titles, the project changes into building a small form factor PC, which is a different exercise with a different budget. Our comparison of consoles against gaming PCs covers where that line sits.
Choosing the board: match the tier to the era
Board choice is the decision everything else follows from, and the common error is buying more capability than the library needs. Emulation demand rises in steps that line up with console generations, so the useful approach is to identify the newest generation you genuinely want and buy the cheapest tier that handles it.
The 8-bit and 16-bit generations are undemanding by modern standards and run comfortably on boards that are several years old. The 32-bit disc era is the first real step up, because those titles stream data continuously and mix 2D with early 3D rendering. Later 3D generations are a much larger jump again and push the project toward x86 hardware.
| Board tier | Approximate board cost | Comfortable era ceiling | Notes |
|---|---|---|---|
| Older Pi-class single-board computer | $35-$60 | 8-bit and 16-bit, light 32-bit | Lowest power draw, simplest cooling |
| Current Pi-class single-board computer | $60-$90 | 32-bit disc era with consistency | Needs a more capable power supply and active cooling |
| Small x86 mini PC | $150-$300 | Later 3D generations | Larger case, mains power, more setup |
Two practical notes on this table. First, the era ceilings describe comfortable operation rather than absolute limits — a board can technically load a generation it cannot hold at a steady frame rate, which is how a lot of disappointing builds happen. Second, the board price is rarely the board price: current-generation boards frequently require a specific power supply and an active cooler that older boards did not, so a $90 board and a $60 board can be $130 and $85 respectively once the necessary accessories are counted.
Cases: the trade between looks and airflow
Cases for these boards split into three broad types and each involves a real compromise. Replica shells styled after period consoles look excellent on a shelf and are usually the worst thermally, because faithful reproductions of 1990s ventilation were designed around chips that ran cool. Functional vented cases in plain plastic or aluminium look unremarkable and cool far better. Passive aluminium cases that use the entire shell as a heatsink sit in between, running silently while getting warm enough to notice.
The decision matters more with current-generation boards than older ones. A low-power board in a sealed replica shell is usually fine. A current board in the same shell will throttle, and throttling on these machines does not produce an error message — the clock speed simply drops and the machine starts stuttering after ten or fifteen minutes of play, which is a maddening symptom to diagnose if you do not know to suspect it.
Check three things before ordering any case: whether it has a cut-out for a fan, whether it provides clearance for a heatsink of the height you plan to use, and whether all the ports you need remain accessible once the board is inside. Cases designed for one board revision frequently misalign by a few millimetres on another, and a case that covers the port you need for a controller adapter is a case you will end up cutting.
Power: the most common cause of mysterious faults
More first builds are broken by inadequate power than by any other single cause, and the symptoms disguise themselves as something else entirely. An underpowered board produces random reboots, memory card corruption, controllers that disconnect, WiFi that drops and games that crash on loading — a list that sends people hunting through software settings for a hardware problem.
Two rules prevent nearly all of it. First, use a supply that meets or exceeds the board manufacturer’s stated current requirement rather than a phone charger from a drawer. Current-generation boards ask for substantially more current than earlier ones, especially once USB peripherals are attached, and a supply sized for the previous generation will produce exactly the symptom list above. Second, use the supply’s own captive cable or a short, thick, known-good one, because voltage drop across a long thin cable is enough on its own to push a board into undervoltage.
Most retro front-ends will display an undervoltage warning when the board detects it, and that indicator is worth learning to recognise before you start troubleshooting anything else. If a build behaves erratically in ways that make no consistent sense, replace the power supply first. It is the cheapest test available and it resolves the problem far more often than it has any right to.
Cooling, and how throttling actually presents
Cooling requirements scale with the board tier. Older low-power boards are generally content with a small aluminium heatsink on the main chip and a case with ventilation slots. Current-generation boards run meaningfully warmer and usually need either a substantial heatsink with real fin area or a small fan, particularly in a sealed decorative case.
The important thing to understand is what thermal throttling looks like from the sofa. It does not crash the machine or display a warning. The board detects a temperature threshold and reduces its clock speed to stay within it, so the console works flawlessly from a cold start and then develops stutters and audio crackle after ten to twenty minutes. Anyone unaware of the mechanism will assume the emulator is at fault and spend an evening changing settings that were never the problem.
Fans introduce their own consideration. A small high-speed fan is audible from a sofa in a quiet room, and a retro console making more noise than the television is a compromise worth avoiding. A larger, slower fan or a passive aluminium case that uses the shell as a heatsink both solve the problem more elegantly for a few dollars more. If you choose passive cooling, expect the case to become genuinely warm to the touch during long sessions; that is the design working rather than a fault.
Storage: capacity matters less than endurance
The memory card holds both the operating system and the game files, which means it is being written to constantly for save states, configuration and metadata while also being read continuously during play. Cheap cards handle that badly. The failure is rarely dramatic — files begin to corrupt intermittently, save states fail to load, and the front-end starts behaving oddly before the card eventually stops being recognised.
Buy an endurance-rated card from a known manufacturer rather than the largest capacity available at a given price. For a cartridge-era library, 64GB is generous. For a build reaching into the disc era, 128GB is a sensible starting point because individual titles are far larger. The general principles in our guide to storage for handheld gaming apply directly, since the read and write pattern is essentially identical.
Make a backup image of the card once the system is configured and working the way you want. This takes about fifteen minutes with free imaging software and is the single highest-value habit in the whole project. It means a failed card costs $15 and a twenty-minute restore rather than a full rebuild with all the controller mapping and display configuration done again from scratch. Store that image somewhere other than the console.
Controllers and input: where the experience is actually made
Controllers deserve more of the budget than most builders give them, because they are the only part of the machine your hands touch. Three routes exist and they suit different builds.
Modern wired USB pads are the simplest and most reliable option, they map automatically in most front-ends, and they cost $20 to $30 each. Wireless pads over Bluetooth remove cable clutter and cost a small amount of input latency plus an occasional pairing session after the console has been unplugged for a while. Adapters for original period controllers give the most authentic feel and are the fiddliest, since driver support varies by adapter and some require configuration the other two options do not.
Two details are worth checking before ordering. Match the shoulder button count to the eras you intend to play — the disc-era library assumes four shoulder buttons and one analogue stick, and a pad with two shoulder buttons will make part of that library awkward regardless of how well the console runs it. And decide the cable length before buying wired pads, because a 1.5 metre cable and a three metre living room is a mistake discovered on the first evening. Our console accessories guide covers pads that map cleanly to these front-ends.
Software setup and organising your own files
Several mature retro front-ends exist as free downloads, and all of them follow the same pattern: write the image to a card from a laptop, boot the board, work through a setup wizard, map a controller, set the display output, and then add content. The first four steps are genuinely straightforward and typically take under an hour combined, including the time spent waiting for the image to write.
The fifth step is where the hours go. Your own game files need to be transferred to the correct folder for each system, named in a way the front-end recognises, and matched to artwork and metadata so the interface is navigable rather than a wall of filenames. Front-ends include tools that fetch artwork automatically, and those tools work well when filenames are tidy and poorly when they are not. Time spent naming files consistently before transferring them saves considerably more time later.
On sourcing, the position here is the same as everywhere else in this guide: create your files from cartridges and discs you own and keep the original media. This guide does not cover obtaining files any other way, and a build populated from your own shelf ends up smaller, tidier and far more pleasant to browse than one filled with an enormous undifferentiated collection.
The realistic time and skill cost
Tomas Berger, who has covered handhelds and headsets for six years and works from a tracked play space with frame-timing capture and comfort-session logging, makes the same observation about these projects that applies to headset setups: the hardware assembly is the short part, and configuration is where the evening disappears.
| Stage | Estimated time | Skill required |
|---|---|---|
| Researching and ordering parts | 1-2 hours | Reading specifications carefully |
| Writing the system image to a card | 20-30 minutes | Basic computer use |
| Physical assembly and cooling | 30-60 minutes | Following instructions, no soldering |
| First boot, controller and display setup | 1-2 hours | Menu navigation and patience |
| Adding your own files and artwork | 2-6 hours or more | File organisation |
| Total for a first build | 6-12 hours | Spread across a weekend |
None of these stages is difficult and none requires prior experience with single-board computers. What they require is tolerance for a process where things do not work first time and the cause is not immediately obvious. If a wet Saturday spent troubleshooting sounds like a pleasant way to spend a day, this project suits you. If it sounds like an ordeal, that is useful information rather than a failing, and the next section is written for exactly that reader.
When buying a ready-made unit is the better call
Buy instead of building in four situations, and they are common enough to state plainly. First, if the total budget is under $80, ready-made plug-and-play boxes start around $35 and comfortably beat what a DIY build can deliver at that price. Second, if the library you want is entirely cartridge-era 2D, a finished box runs it identically to a build and needs no configuration at all.
Third, if the console is a gift or is intended for children, a sealed unit that boots to a menu is the right product. A DIY machine needs an owner who understands it, and a project console in a house where nobody wants to maintain it becomes a drawer object quickly. Fourth, if the appeal is playing this weekend rather than building something, buying delivers that and building does not.
Conversely, build when you want a front-end you control, when you want the machine to grow with better cooling or a larger drive later, when you want to bring an existing personal library rather than accept a preloaded one, or when the project itself is part of the appeal. Those are good reasons and they justify the extra cost and hours completely.
If you land on buying, our gaming console guide covers the ready-made options across price bands, and the handheld guide under $500 is the right starting point if portability matters more than a television connection.
Frequently asked questions
How much does a DIY retro gaming console cost to build?
A realistic first build lands between $95 and $180 once every part is accounted for. A current single-board computer runs roughly $60 to $90, a case with cooling adds $15 to $35, a compliant power supply is $12 to $20, an endurance-grade memory card is $12 to $25, and controllers are $20 to $50 for a pair. People who quote $60 are usually counting the board alone and already own the rest, which is the most common reason first builds go over budget.
What single-board computer should I use for a retro console?
Match the board tier to the console generations you care about rather than buying the most powerful one available. Older Pi-class boards around $35 to $60 handle the 8-bit and 16-bit generations comfortably and reach lightly into the 32-bit disc era. Current Pi-class boards at $60 to $90 handle the disc era far more consistently. Later 3D generations realistically want a small x86 mini PC at $150 to $300, at which point the project stops being a hobbyist console build.
Do I need active cooling on a DIY retro console?
On older, lower-power boards a decent aluminium heatsink and a vented case are usually enough for 2D emulation. Current-generation boards draw meaningfully more power and generally do need a fan or a substantial heatsink, particularly inside a sealed decorative case. Thermal throttling on these boards does not crash anything; it quietly reduces clock speed, so the symptom is a machine that runs perfectly for ten minutes and then develops stutters. If that pattern appears, cooling is the first thing to check.
How long does a first DIY retro console build take?
Budget six to twelve hours spread across a weekend for a first attempt. Parts research takes one to two hours, writing the system image to a card takes twenty to thirty minutes, physical assembly is thirty to sixty minutes, and first boot with controller mapping and display configuration takes one to two hours. The long pole is organising your own game files and matching artwork to them, which realistically takes two to six hours and often more. Second builds take a fraction of that.
Is building one cheaper than buying a ready-made retro console?
No, and it is important to be clear about that. Ready-made plug-and-play boxes start around $35 and reach roughly $100, while a DIY build lands between $95 and $180 plus six to twelve hours of your time. You build one for control, upgradeability, a proper front-end and the satisfaction of the project, not to save money. If the goal is simply playing 16-bit games on a television this weekend, buying is both cheaper and faster.


