Cutting the cord is the ultimate dream for virtual reality enthusiasts, especially those who care about their home’s design and flow. A thick, heavy cable snaking across a pristine hardwood floor or custom area rug is a major design eyesore. Worse, it is a tripping hazard that can easily result in a broken vase, a damaged accent chair, or a pulled-down $1,500 gaming rig.
However, learning how to set up wireless vr streaming on pc is not as simple as clicking a single connect button. If done poorly, you will suffer from high latency (above 50 milliseconds), which causes nauseating lag, heavy visual compression, and sudden disconnects. To build a seamless, high-performance virtual reality space that blends beautifully into your home, you must align your physical layout, your network architecture, and your software configuration. Here is how to achieve untethered perfection.
As an Amazon Associate we earn from qualifying purchases at no extra cost to you.


Our Top Picks


What You Need
Before rearranging your furniture or diving into software settings, gather the essential hardware. A robust local network is the backbone of wireless VR streaming.
| Item | Why You Need It | Optional? |
|---|---|---|
| VR-Ready PC | Powers and renders the high-fidelity VR game files. Requires a modern GPU (RTX 3060 / RX 6600 or better) and a 500-watt or higher power supply. | No |
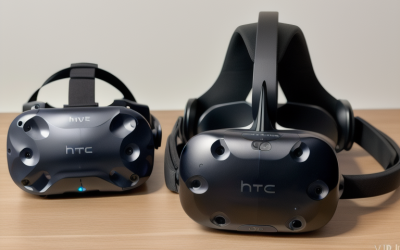
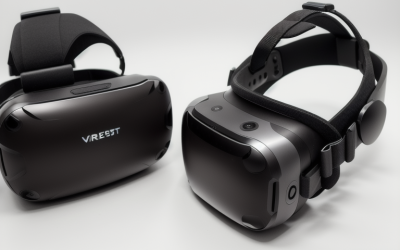
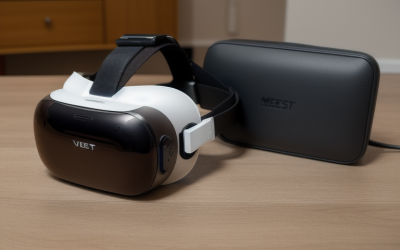
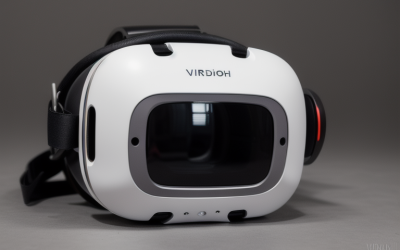
| Standalone VR Headset | Receives the compressed wireless video feed (e.g., Meta Quest 3, Pico 4, or HTC VIVE Focus Vision). | No |
| Wi-Fi 6 or 6E Router | Provides the high-bandwidth, low-latency 5GHz or 6GHz highway. Standard ISP routers are rarely sufficient. Expect to spend $80 to $250. | No |
| Cat 6 or Cat 6a Ethernet Cable | Hardwires your PC directly to your dedicated VR router to eliminate half of the wireless latency. | No |
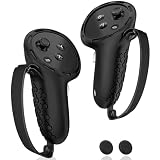
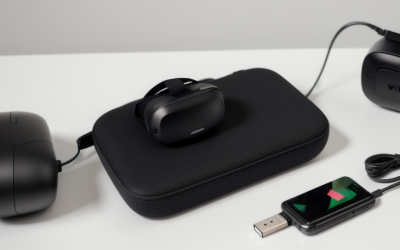
| USB Dongle Receiver (around $43) | Allows you to connect external SteamVR controllers or trackers directly to your PC for precise spatial tracking. | Yes (Only for mixed-tracking setups) |
| Dual-Mode Wired Streaming Kit ($189) | Provides a physical DisplayPort connection to fall back on if your home’s airwaves are too congested for wireless play. | Yes |
Step-by-Step
Setting up your wireless system takes under an hour if you follow these steps in order. Make sure your PC is powered on and updated before you begin.
Step 1: Prep the Physical Playspace (Time: 10 minutes)
For a safe and immersive wireless experience, designate a clear “room-scale” play area of at least 6.5 x 6.5 feet. Push lightweight coffee tables, ottomans, and floor lamps to the perimeter of the room. If you use an area rug, ensure it has a non-slip pad underneath to prevent slipping during intense movement. Position your VR setup so you are within direct line-of-sight of your wireless router. Physical barriers like drywall, heavy wooden doors, or metal media consoles will degrade your wireless signal.
Step 2: Optimize Your Network Architecture (Time: 15 minutes)
To prevent stuttering, your PC must be connected directly to your router via a Cat 6 or Cat 6a Ethernet cable. Do not run your PC on Wi-Fi.
Next, log into your router’s admin panel via your web browser (usually by typing 192.168.1.1 into the URL bar). Locate the wireless settings and create a dedicated 5GHz or 6GHz SSID band solely for your VR headset. Set the channel width to 80MHz or 160MHz. Ensure all other household smart devices, phones, and TVs remain on the 2.4GHz band to keep your VR channel completely clear.
Step 3: Configure PC and Headset Software (Time: 15 minutes)
Choose your streaming software. The three most reliable options are Virtual Desktop (highly customizable, paid app), Steam Link (free, native SteamVR integration), or your headset manufacturer’s proprietary software (such as Meta Quest Link or VIVE Business Streaming). Install the companion streamer app on your PC, then download the corresponding client application on your VR headset from its built-in app store.
Step 4: Establish the Wireless Link and Calibrate (Time: 10 minutes)
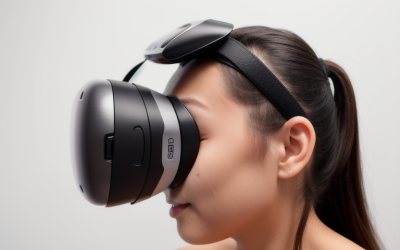
Put on your VR headset and connect it to your newly created, dedicated 5GHz/6GHz Wi-Fi network. Launch the streaming app inside the headset. The app will scan your local network and display your PC’s name. Click “Connect.” Once your desktop screen appears inside the headset, launch a VR game to test the performance. Open the streaming overlay to monitor your latency; a healthy setup should register between 22 and 38 milliseconds.
Mistakes to Avoid
- Double-NAT Networks: Connecting your dedicated VR router to your main home modem/router incorrectly can cause IP conflicts. Set your secondary VR router to “Access Point (AP) Mode” to avoid this.
- Hiding the Router: Do not tuck your router inside a closed wooden media cabinet or behind a metal TV mount. Keep it high on a shelf, in plain sight, and within the same room where you play.
- Playing on the 2.4GHz Band: The 2.4GHz band is too slow for VR streaming and is heavily congested by microwaves, Bluetooth devices, and baby monitors. Always use the 5GHz or 6GHz bands.
- Neglecting PC Background Tasks: Background downloads, cloud backups, and active antivirus scans can cause sudden frame drops. Close these programs before starting your stream.
How Often
To keep your wireless VR system running flawlessly, perform these quick maintenance tasks:
- Weekly: Check for graphics driver updates on your PC and system firmware updates on your headset.
- Monthly: Restart your dedicated VR router to clear its system cache and prevent memory leaks.
- Every Six Months: Use a free Wi-Fi analyzer app on your phone to check if your neighbors have moved onto your selected wireless channel. If they have, switch your router to a different, less crowded channel.
When to Call a Pro or Replace
If you live in a large home and struggle to run an Ethernet cable from your main modem to your dedicated VR room, it may be time to call a professional low-voltage electrician. They can run in-wall Cat 6a cables cleanly behind your drywall, keeping your home looking pristine while delivering a stable, hardwired connection directly to your play space.
As we move into 2026, network demands will continue to rise. You should replace your router if it only supports Wi-Fi 5 (802.11ac), as it cannot handle the high-bitrate demands of modern high-resolution headsets. If you experience frequent dropouts despite having an optimized network, look into a plug-and-play USB dongle receiver (around $43) to offload your controller tracking data, or invest in a hybrid dual-mode wired streaming kit (around $189) to bypass wireless congestion entirely when absolute precision is required.
FAQ
Can I use my standard ISP-provided router for wireless VR streaming?
Generally, no. Standard routers provided by internet service providers are designed for general web browsing and video streaming, not the ultra-low latency demands of VR. They often lack the processing power to handle high-bitrate local streaming while simultaneously managing multiple smart home devices.
What is the ideal bitrate for wireless PC VR streaming?
For most Wi-Fi 6 setups, a dynamic bitrate between 100 Mbps and 200 Mbps (using HEVC or AV1 codecs) offers the best balance of visual clarity and low latency. Pushing the bitrate past 200 Mbps on standard networks can introduce audio stuttering and input lag.
Why am I getting motion sickness during wireless play?
Motion sickness in wireless VR is usually caused by latency spikes or dropped frames. If your latency rises above 40ms, your brain notices the delay between your physical head movements and the visual update on the screen. Try lowering your in-game graphic settings, reducing your streaming bitrate, or moving closer to your router.
Can I use SteamVR controllers with a standalone headset like the Meta Quest?
Yes, but you will need a mixed-VR software setup (such as OpenVR Space Calibrator) and a dedicated USB Dongle Receiver (priced around $43) plugged into your PC. This dongle acts as a dedicated receiver with specialized firmware to track your Valve Index or Vive controllers accurately in space.